Press Sample
Have you ever wished that you could create your perfect, unique shade of nail polish? One that is 100% totally yours and nobody else's? Well, in case you aren't in the position to start an indie nail polish company complete with pigments and bases and shimmers and glitter, I have your solution! Read on to learn more!
Have you ever wished that you could create your perfect, unique shade of nail polish? One that is 100% totally yours and nobody else's? Well, in case you aren't in the position to start an indie nail polish company complete with pigments and bases and shimmers and glitter, I have your solution! Read on to learn more!
A week or so ago, I needed to get out of Las Vegas, as one does in mid-July when it's 110°, so I hit the road and headed toward Los Angeles! First stop was Venice Beach, to grab breakfast and explore Abbot Kinney, and really just to get outside and get some fresh air! Next on my agenda, and why I'm sitting here writing this post, is the ORLY Color Lab! You may have seen posts about it on Instagram, it's a little shop in LA where you can concoct your dream color for only $20!
When you walk into the shop, you're greeted by Emma, a fellow ginger, and she'll be your resident nail mixologist for your session– she knows all about these mixtures, and what will work with what. She knows just how much blue to add to get that exact shade of grey you're picturing in your head, or that mixing red shimmer into bright turquoise will definitely darken the shade!
If you have your dream shade already emblazoned in your mind, she'll guide you right over to the mixing table. If you're just not sure, but want the experience of creating your own polish, she'll guide you over to a special kiosk that will help guide you through a few different steps:
Step 1. Choose the mood for your polish. Here you'll choose between Brights & Nights, where you'll go to...
Step 2. Your color inspiration. Here you pick an image that speaks to you with its color. You'll find photos of feathers, turquoise stones, flowers, flamingos, etc., and once you pick one of those images, you'll go to...
Step 3. The tint. During this step, you're shown the original color from the inspiration image, a lighter version, and a darker version. Select one of those and you're guided to...
Step 4. The effects! This is where you add a bit of fun! You can choose between Pearl Shimmer, Metallic Shimmer, or no effect, where you'll end up with a creme. Choose one of these and proceed to...
Step 5. Naming your shade! This is where you make your unique shade even MORE unique! Ever envied the job of nail polish namer? This is where you get your chance! Be creative, but concise - you can use up to 35 characters! Once you name your polish, you pay at the kiosk and Emma starts work on your perfect formula using a one-of-a-kind concoction of several of their beautiful pigment shades! (and shimmer/pearl if you choose to add it!).
Because I had my inspiration already rattling around in my brain, I headed straight to Emma to get started. My inspo? The sunset over the mountains here in Las Vegas, which I'm convinced is one of the most beautiful and redeeming things about sin city! My vision for this polish was a deep slate with coppery golden shimmer to mimic some of the beautiful colors seen every night here. Emma started mixing a bit of blue, a bit of black, and of white. I kept prompting her to add a bit more of this, a sprinkle more of that, a touch of purple, more blue.
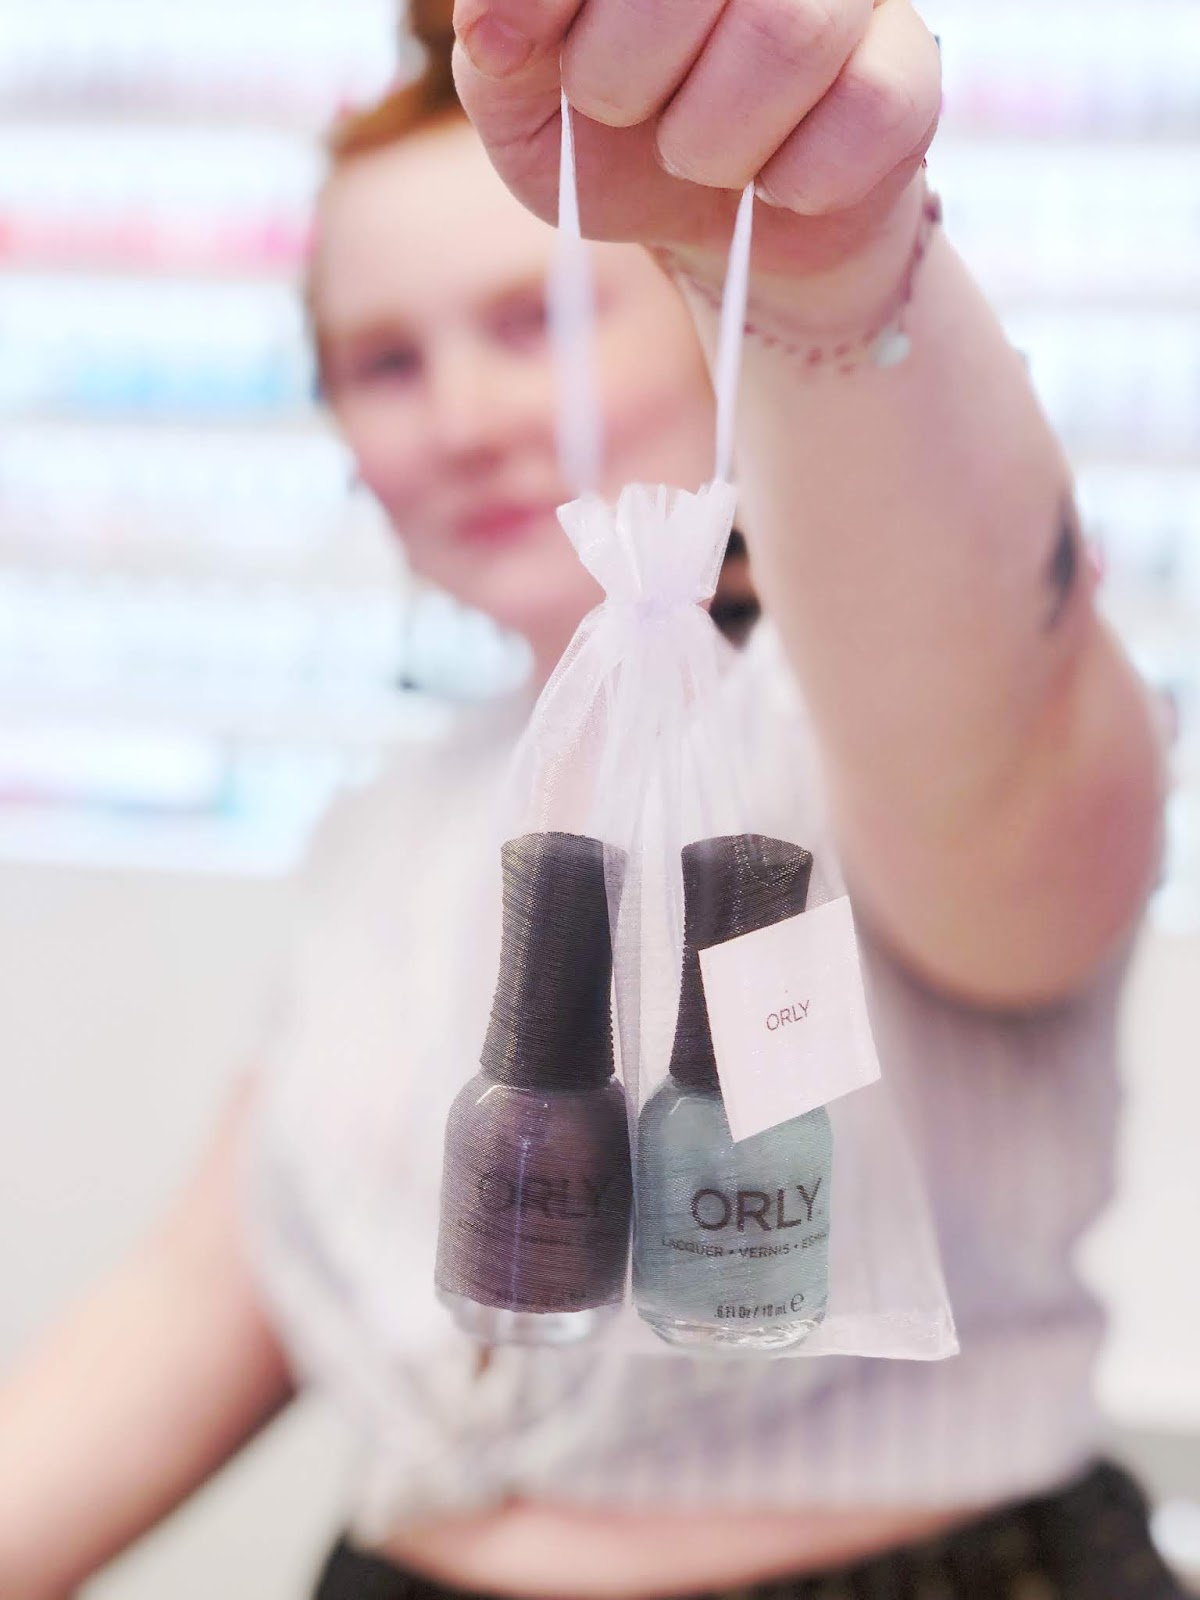
Finally we had the perfect slate-y base, and, since there isn't a copper shimmer (yet! There may be someday - they're looking to expand their offering of shimmers and glitters in the future), we decided to add the blue pearl, a bit of golden shimmer, a bit of rosey pink shimmer, some red shimmer, and a sprinkle of bronze! We mixed it all up and as the little mixer whirred, the polish was transformed into a perfect gunmetal with a warm tinge of shimmer. The name was inspired because Emma said that it was a great warm gunmetal... so channeling my love of the Beatles, I decided to name it 'Happiness is a Warm Gunmetal'. It's insanely pigmented, and a great shade, if I do say so myself! :D
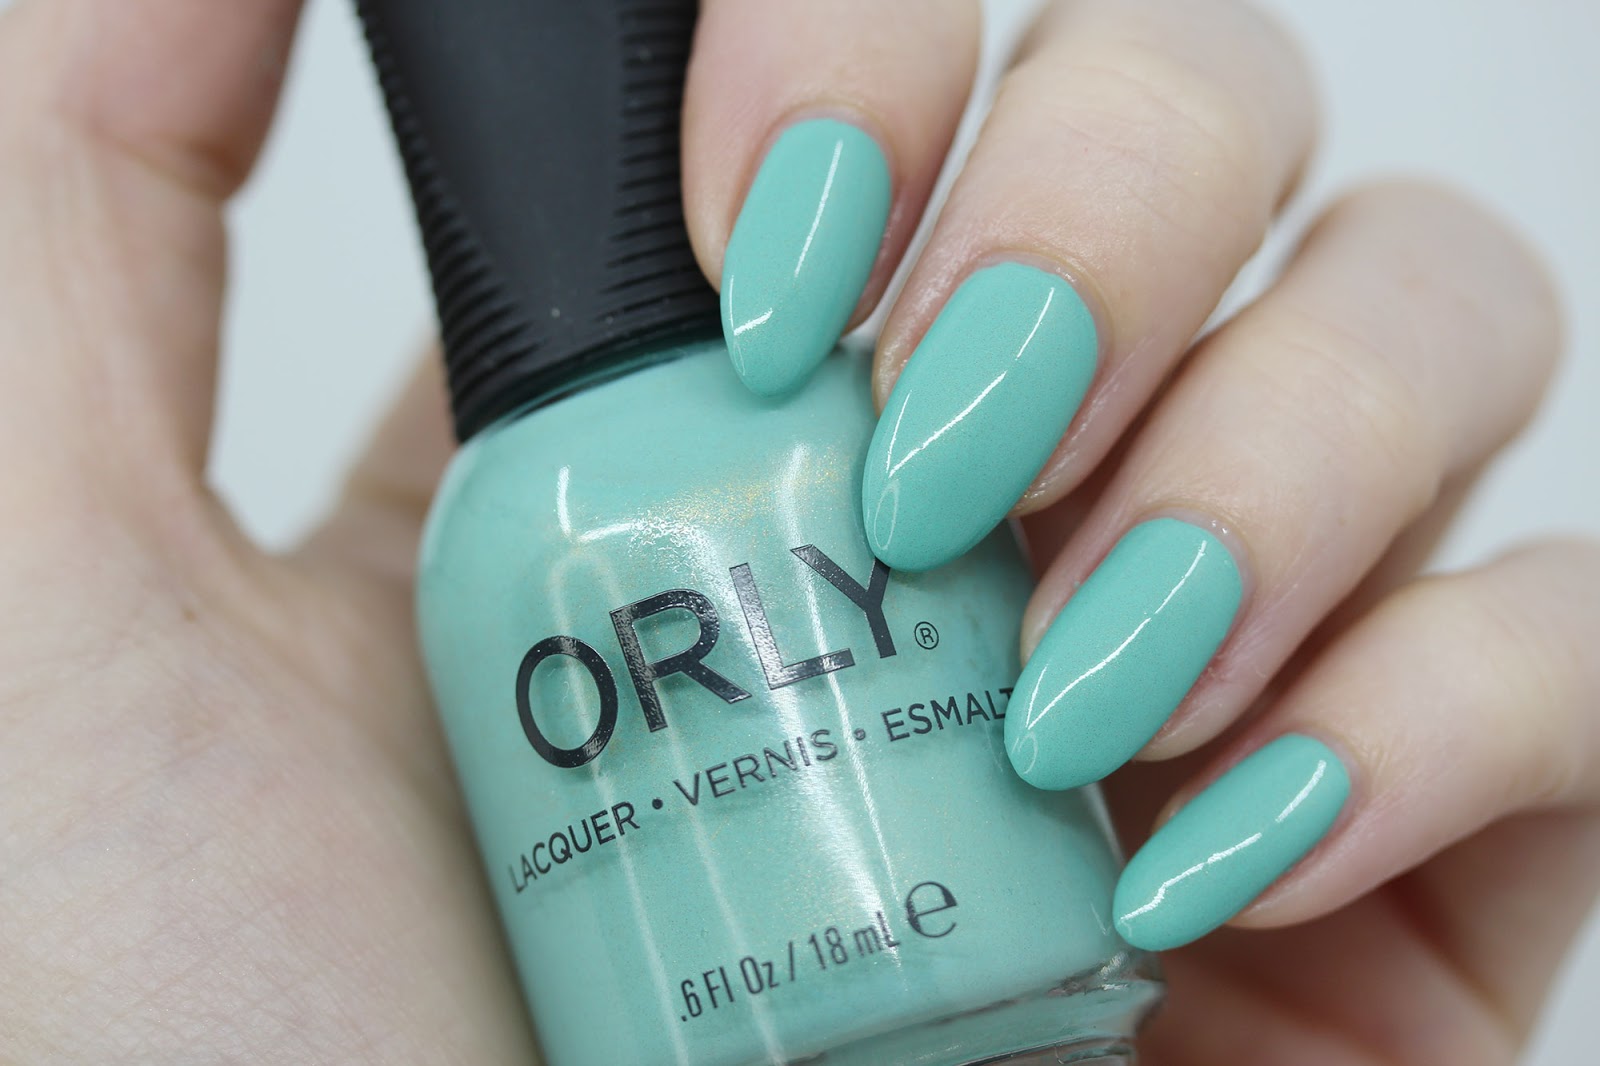
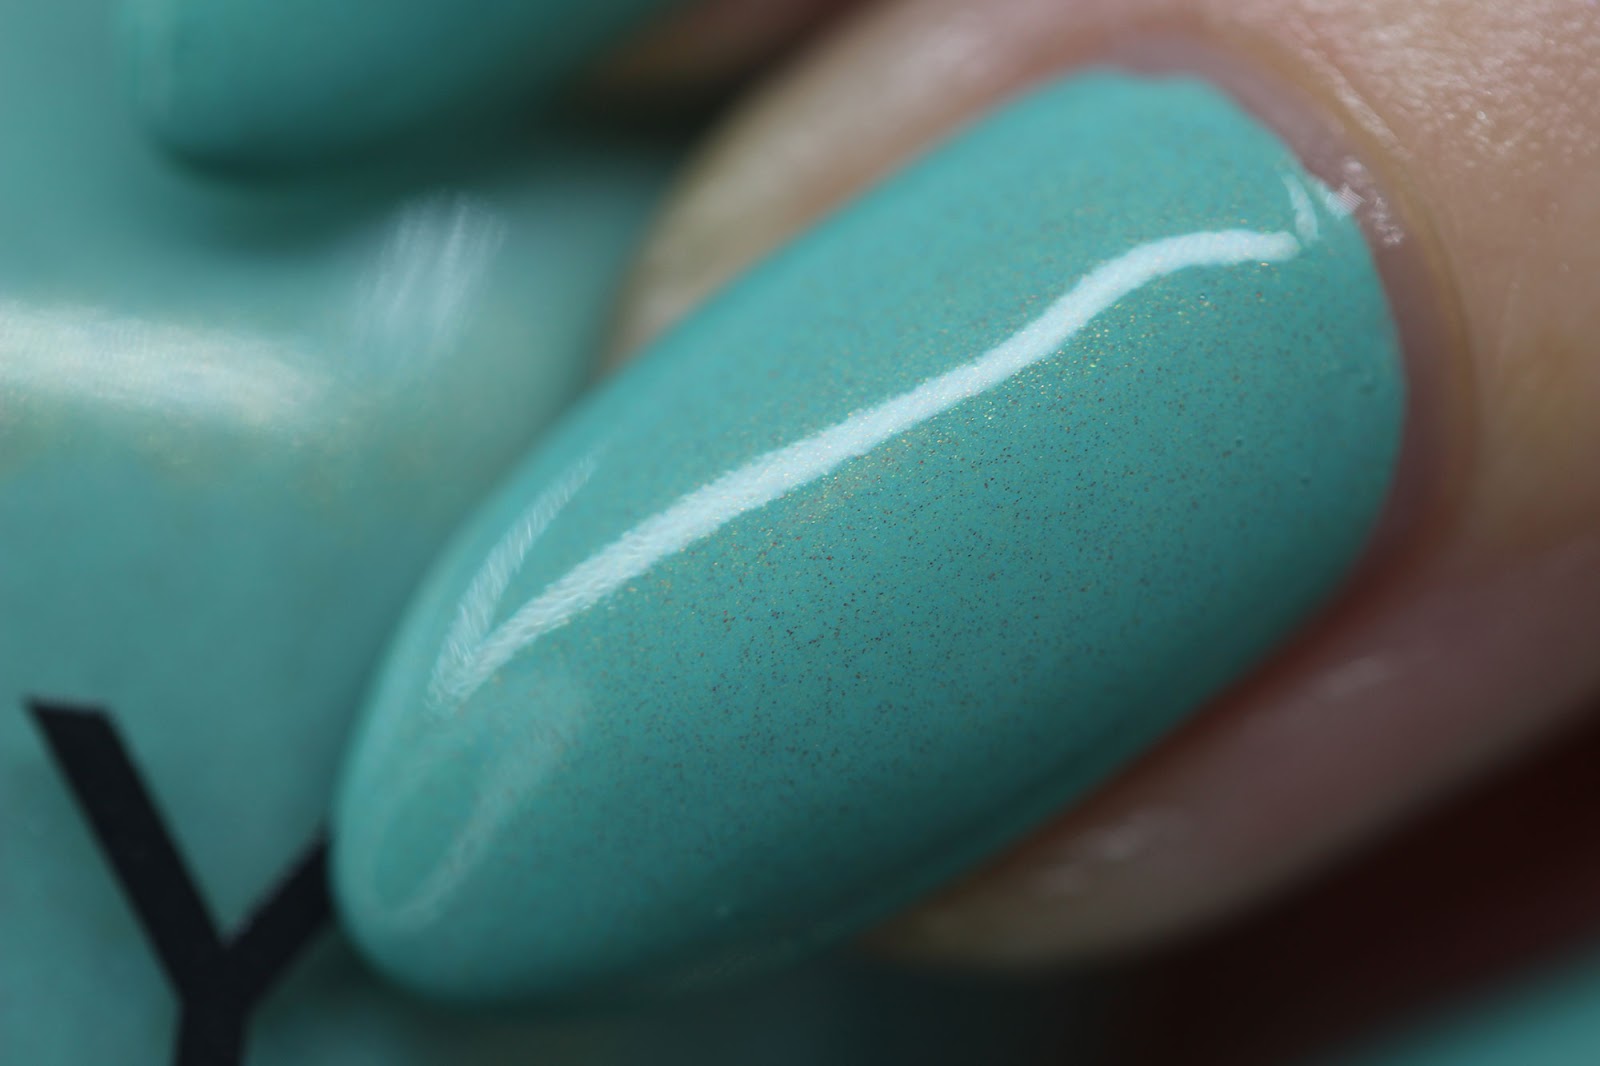
I had another shade rattling around in my head as well - a bright turquoise with copper shimmer, and Emma was happy to try to oblige. We mixed up a gorgeous turquoise, brighter than a Tiffany blue, but not too bright, and then we added a bit of red shimmer (at my request! Emma cautioned me that it would darken the polish and affect the shade, but I decided to try it anyway!), this addition deepened the shade, and gave it a slightly succulent green tinge instead of the bright shade we started off with. I'm sooo not mad about it!
Next, we added tons of golden shimmer and a tiny bit of bronze, and a little bit of the reserved original mixture to brighten it up a little bit. We were finished, but for the life of me...I can't think of a name! That's where you come in! Leave me your name ideas in the comments! You can stick with the Beatles theme or you can go off on your own and come up with a great name!

If you're interested in visiting the ORLY color lab, reservations can be made on their website, or they accept walk-in clients as well! You can visit their shop at 7621 Beverly Blvd. in Los Angeles. They're open Tuesday - Saturday from 11 am - 7pm, and Sunday from 12 -6 pm.
Another amazing tidbit of information that I discovered is that excess polish is bottled up and donated to local organizations, one of which is Beauty Bus, which is an organization founded in memory of Melissa Marantz Nealy, a woman whose life ended due to a neuromuscular disease. Her family started it to offer the dignity, hope, and respite that a beauty treatment can provide to families when they need it most.
I would kill for a Vegas location - I'd totally be a regular! I swear that Vegas is the perfect spot- people are always looking for fun experiences here in Vegas to fill the time between eating, gambling, and shows!
Disclosure: Products and experiences in this post were provided by the brand for consideration. All opinions are my own.
When you walk into the shop, you're greeted by Emma, a fellow ginger, and she'll be your resident nail mixologist for your session– she knows all about these mixtures, and what will work with what. She knows just how much blue to add to get that exact shade of grey you're picturing in your head, or that mixing red shimmer into bright turquoise will definitely darken the shade!
HOW DOES IT ALL WORK?
If you have your dream shade already emblazoned in your mind, she'll guide you right over to the mixing table. If you're just not sure, but want the experience of creating your own polish, she'll guide you over to a special kiosk that will help guide you through a few different steps:
Step 1. Choose the mood for your polish. Here you'll choose between Brights & Nights, where you'll go to...
Step 2. Your color inspiration. Here you pick an image that speaks to you with its color. You'll find photos of feathers, turquoise stones, flowers, flamingos, etc., and once you pick one of those images, you'll go to...
Step 3. The tint. During this step, you're shown the original color from the inspiration image, a lighter version, and a darker version. Select one of those and you're guided to...
Step 4. The effects! This is where you add a bit of fun! You can choose between Pearl Shimmer, Metallic Shimmer, or no effect, where you'll end up with a creme. Choose one of these and proceed to...
Step 5. Naming your shade! This is where you make your unique shade even MORE unique! Ever envied the job of nail polish namer? This is where you get your chance! Be creative, but concise - you can use up to 35 characters! Once you name your polish, you pay at the kiosk and Emma starts work on your perfect formula using a one-of-a-kind concoction of several of their beautiful pigment shades! (and shimmer/pearl if you choose to add it!).
WHAT DID I MAKE?
Because I had my inspiration already rattling around in my brain, I headed straight to Emma to get started. My inspo? The sunset over the mountains here in Las Vegas, which I'm convinced is one of the most beautiful and redeeming things about sin city! My vision for this polish was a deep slate with coppery golden shimmer to mimic some of the beautiful colors seen every night here. Emma started mixing a bit of blue, a bit of black, and of white. I kept prompting her to add a bit more of this, a sprinkle more of that, a touch of purple, more blue.
Finally we had the perfect slate-y base, and, since there isn't a copper shimmer (yet! There may be someday - they're looking to expand their offering of shimmers and glitters in the future), we decided to add the blue pearl, a bit of golden shimmer, a bit of rosey pink shimmer, some red shimmer, and a sprinkle of bronze! We mixed it all up and as the little mixer whirred, the polish was transformed into a perfect gunmetal with a warm tinge of shimmer. The name was inspired because Emma said that it was a great warm gunmetal... so channeling my love of the Beatles, I decided to name it 'Happiness is a Warm Gunmetal'. It's insanely pigmented, and a great shade, if I do say so myself! :D
I had another shade rattling around in my head as well - a bright turquoise with copper shimmer, and Emma was happy to try to oblige. We mixed up a gorgeous turquoise, brighter than a Tiffany blue, but not too bright, and then we added a bit of red shimmer (at my request! Emma cautioned me that it would darken the polish and affect the shade, but I decided to try it anyway!), this addition deepened the shade, and gave it a slightly succulent green tinge instead of the bright shade we started off with. I'm sooo not mad about it!
Next, we added tons of golden shimmer and a tiny bit of bronze, and a little bit of the reserved original mixture to brighten it up a little bit. We were finished, but for the life of me...I can't think of a name! That's where you come in! Leave me your name ideas in the comments! You can stick with the Beatles theme or you can go off on your own and come up with a great name!
IMPORTANT INFO

If you're interested in visiting the ORLY color lab, reservations can be made on their website, or they accept walk-in clients as well! You can visit their shop at 7621 Beverly Blvd. in Los Angeles. They're open Tuesday - Saturday from 11 am - 7pm, and Sunday from 12 -6 pm.
Another amazing tidbit of information that I discovered is that excess polish is bottled up and donated to local organizations, one of which is Beauty Bus, which is an organization founded in memory of Melissa Marantz Nealy, a woman whose life ended due to a neuromuscular disease. Her family started it to offer the dignity, hope, and respite that a beauty treatment can provide to families when they need it most.
What do you think? Would you like to visit the ORLY Color Lab? Not near LA? Where would you like to see a location?
I would kill for a Vegas location - I'd totally be a regular! I swear that Vegas is the perfect spot- people are always looking for fun experiences here in Vegas to fill the time between eating, gambling, and shows!
Disclosure: Products and experiences in this post were provided by the brand for consideration. All opinions are my own.


No comments
Go on, comment... you know you want to. ;-P