Showing posts with label red. Show all posts

Are You Ready for the Glam Finale?!

Press Sample

It's December, which means it's time for holiday partying, and all the glitter and glam that goes along with it. The new Glam Finale collection from China Glaze has a great mix of colors and finishes, and a few colors you'll want to wear all year long; they'll see from from Deck the Halls to Auld Lang Syne and everything (and party) in between! Hit the jump to see swatches and pick out your favorites!

Are you Satisfied With Your Care?

Nothing to Disclose


Isn't it weird how one minute you're doing something, and the next, something worms its way so firmly in your brain that you have no choice but to drop what you're doing?

Hit the jump for more!

RED My Lips! - 31 Day Challenge - Day 1

Nothing to Disclose Press Sample


Hey all! So every year, Sarah from Chalkboard Nails does a 31 Day Nail Art Challenge prompt, and this year, in an attempt to push myself further and get more squarely back into blogging regularly, I'm going to do it! (or at least die trying) The above image (courtesy of Sarah) has all of the daily prompts, so get to creating and join me in my attempt! We can encourage each other to finish! If you post your art on Instagram, be sure to use the #31DC2016 so you're included in all the fun!

Hit the jump for today's nail art!

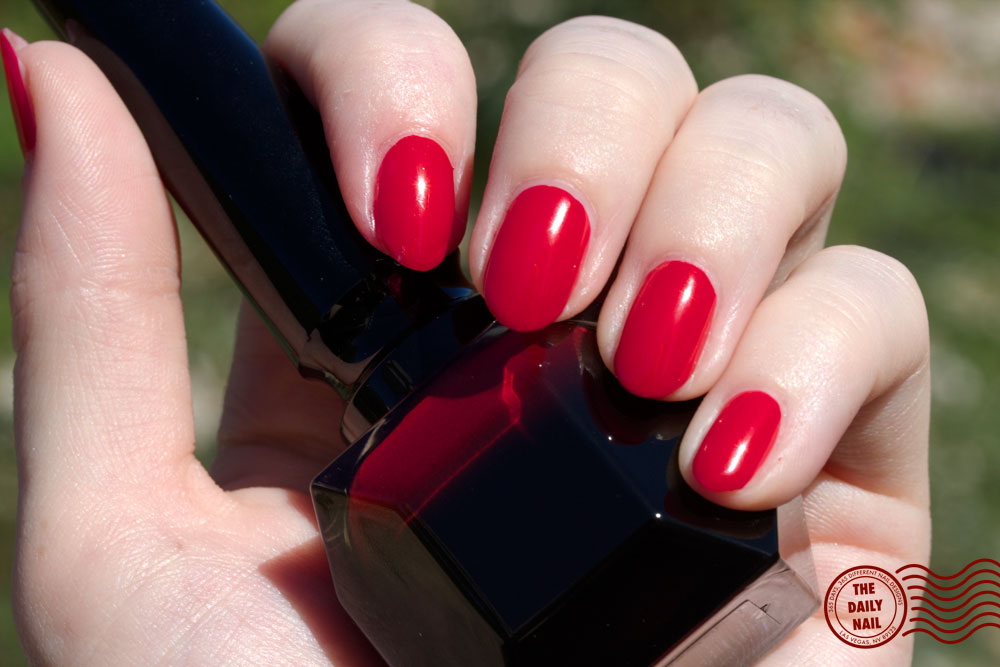
Do I Need a Loub-otomy? Christian Louboutin Rouge Louboutin Swatches & Review

Nothing to Disclose


Yeah. I did it. I didn't mean to, it just sort of...happened. I feel a little nauseated, a little giddy, and a little guilty. I just wanted to look at it. To hold it. I shouldn't have brought my purse. When I reached the apex of that moving sidewalk in front of the Venetian Sephora, my heart skipped a beat...maybe two. I was within feet of having my hands on a bottle of the first nail polish from fabulous shoe designer Christian Louboutin. You know, to hold. Not to buy.

My first mistake was applying it to a single nail...at first. Then I found my way to the Nail Studio...I had to try this stuff on naked nails, surely it couldn't be a one coat red, could it? I removed the Elevation Polish Yeti Finds an Oasis that I've had on my nails for the last couple of days and sped back toward the entrance, where there was a glorious display of those spiked bottles of red awesomeness. I don't think I have to tell you the rest of the story, I think it's fairly obvious where this is going! :-P

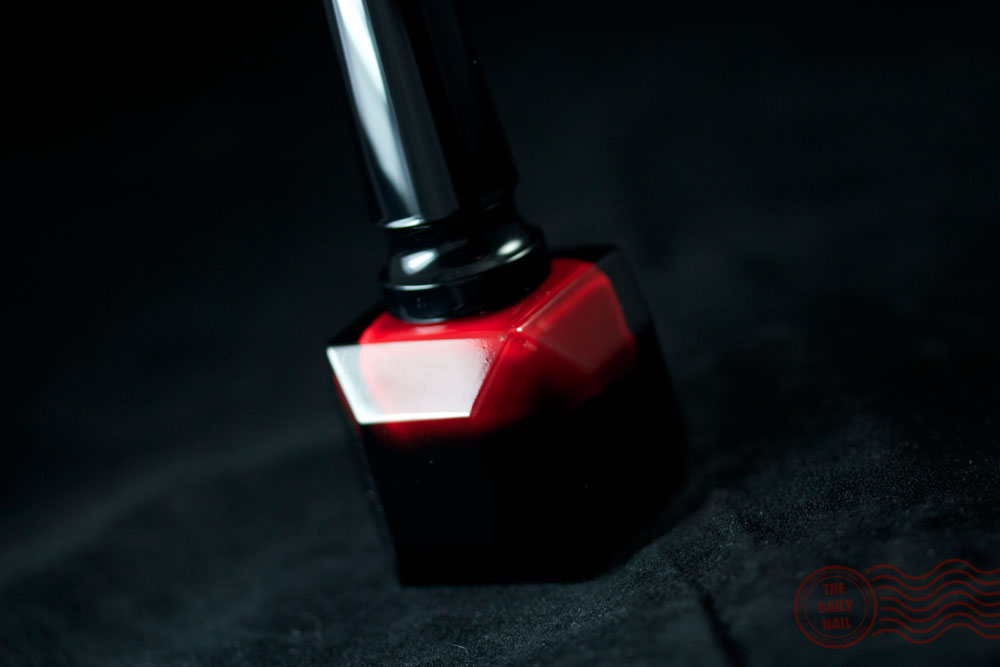
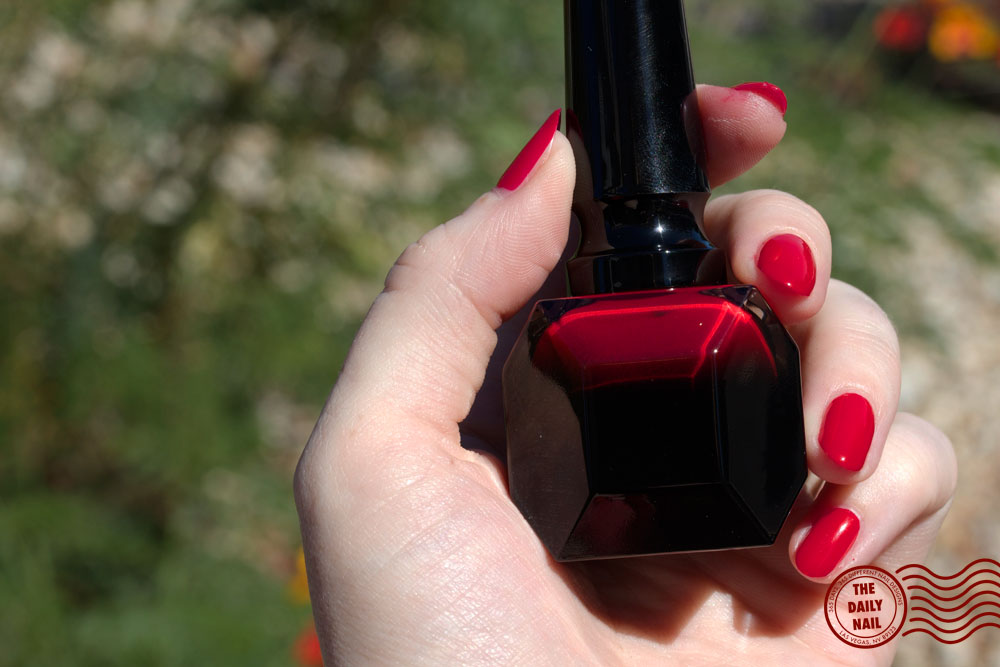
If you've been reading my blog for any length of time, you know I'm not partial to reds. There are a few standouts, but on the whole, I'd rather spend my money on other colors. So why, you ask, was I so entranced by this red? I'm not going to lie. It was the packaging. I'm SUCH a sucker for great packaging, and this is GREAT packaging. It's sexy, dangerous, and sleek, and is a polish that is definitely not going to live inside a Helmer (not to mention the fact that it wouldn't really fit!).

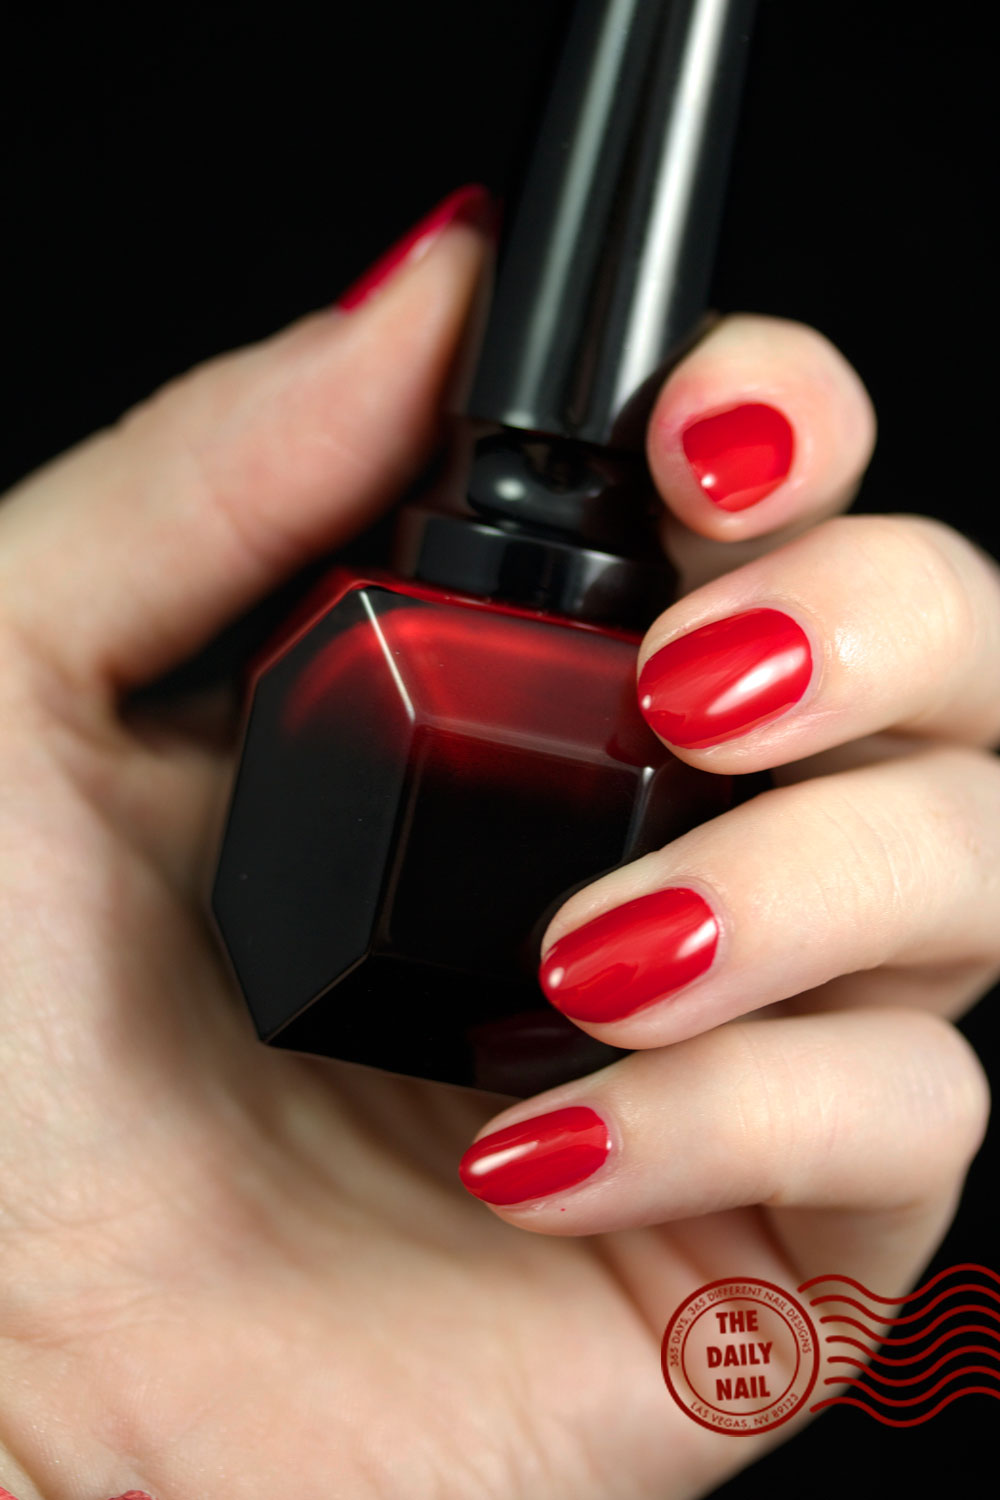
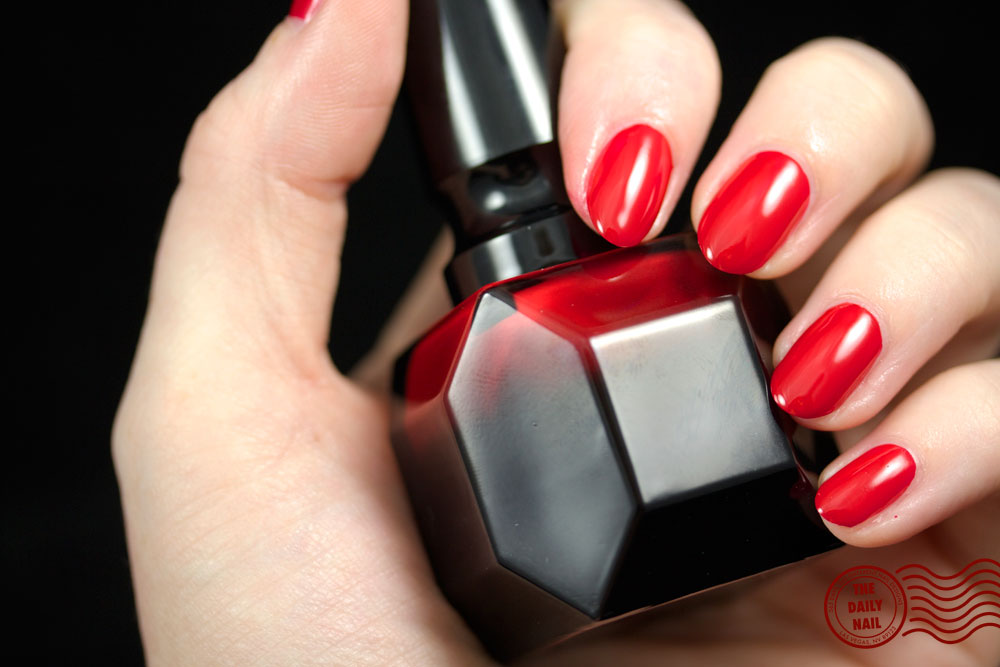
I will admit, that even with the astronomical price tag, I was expecting a microscopic bottle. I was wrong, it's a fairly decent sized bottle which contains .4 fl oz of polish vs. a .5 fl oz bottle of Seche. The formula, as I mentioned above, is quite opaque, and I was able to obtain full coverage in one coat. For the pictures in this post I used one coat of polish and NO top coat. It is REALLY that shiny.


Let's address the price. Yes, it's expensive. Yes, it should paint my nails, and then buy me dinner for that price. I'll be the first to admit that I probably shouldn't have purchased it, but I have little to no willpower, especially when two of my favorite things collide–nail polish and shoes. Who knows, I may have buyer's remorse when I wake up tomorrow at 4:45 am for work, but maybe not, because dammit, I'm worth it.

This nail lacquer can be purchased at select Sephora stores and at Sephora.com, as well as Saks 5th Avenue, and Christian Louboutin boutiques for $50 USD.

What do you think? Would you have splurged on it? HAVE you splurged on it? Do I need a 'loub'-otomy? Tell me in the comments below!
Throwback Thursday: Zoya Cashmere Swatches & Review

Press Sample


Don't you hate it when you're on your computer, looking through files, and you discover that you never posted those swatches that you did literally MONTHS ago? Awesome, right? I feel like a big ol' dummy. I looked at the date, and these photos were taken in August. Yeah, that month at the end of summer that was, hmmm, let's count...over 7 months ago. Really. The sad part? I LOVED this collection, so I'm not sure how I could have missed posting it!!

Anyway, better late than never right?


All Wrapped Up


Purchased Press Sample

So good news for Dexter fans without Showtime...Season 8 is on NETFLIX! :D I'm surper stoked, and trying to pace myself so I don't devour the entire season in a single day. (I watched seasons 1-4 in a week, all while working full time, I have a problem.)

Aaaaaanyway. I actually did this nail design back in July when the show was on TV, but never posted it. I know, I suck. I based this off of a Season 8 promo image I saw, where Dexter's image is made up of blood spatter. On the remaining nails, I did blood splatters over a white background. Red is the worst color to do splatter nail art with, it's so hard to remove all the pink residue that remains from the pigments. I'm fairly pleased with how this turned out, the face isn't super obvious at first glance, which I like. :)

All Wrapped Up - Dexter Season 8 nail art

All Wrapped Up - Dexter Season 8 nail art_2


I used:

White: Chrome Girl Between the Sheets
Red: China Glaze Adventure Red-y
Dark Red: China Glaze Adventure Red-y mixed with American Apparel Hassid

One of more of the items used in this post were provided by the manufacturer for review, the remainder of the items used were purchased by the author.


Gimme a Kiss!


One more Valentine's Day nail design! This was today's nail art, and I am excited to show it to you because my super kickass boyfriend surprised me with a package from Amazon today- something to help with the blog. What was it, you ask? A tabletop lighting set for my lightbox! You can say that not only am I head over heels for Chris, but he lights up my life --->Literally! lol  The reason I'm excited to show you this design is because I got to try out the new lights when I took the pictures. I definitely have a lot of learning/experimenting to do before I get everything how I want it, but the colors are far better with these new lights. I'm already super pleased!

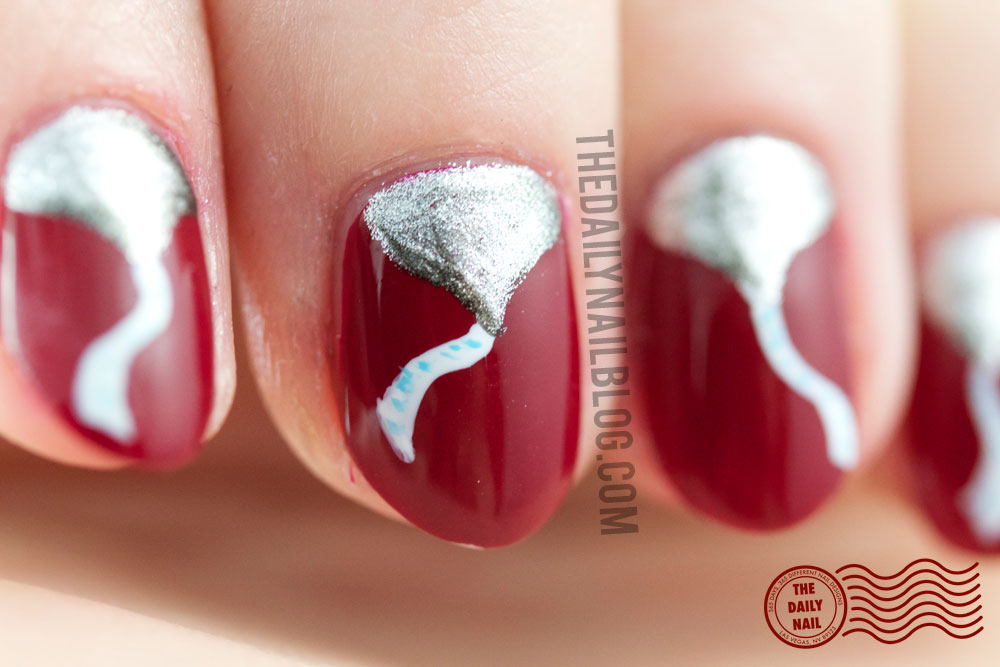
This Valentine's nail design is another twist on a half-moon inspired design- Hershey's kisses! :) I'm totally in love with China Glaze Adventure Red-y, despite the fact that I usually loathe red polishes. Dunno, something about this one. the coverage, color, and application are fantastic.

Anyway, to the nails, I hope you like them!


I used:

Red: China Glaze Adventure Red-y
Silver: Zoya Trixie
Silver Shading: Zoya Trixie mixed with American Apparel Hassid
White: American Apparel T-Shirt
Blue: Zoya Yummy mixed with American Apparel T-Shirt

Topcoat:  Seche Vite


Moonicure Monday - GObama!


As I'm sure most of you know (if you're from the the US or not), tomorrow is Election Day! Of course I had to do presidential nails for the occasion! I know that the topic of politics is a hot button issue these days, and this post is my nail art in support of President Barack Obama! Living outside the US this past year, I have gotten a better hold on what others think of the US, its people, and our president, and it's pretty clear to me who they want.

Side note, my nails are more nubbiny now, I broke my thumbnail after accidentally 'scoring' it with a paring knife while cooking. Ironic that it happened the same day Katherine of Manicure Addict commented that my nails were getting really long! lol

Who are you voting for? Tell me in the comments! (Please be respectful. Rude comments will not be published. Thanks for being adults! :D)


I used:

White: American Apparel T-Shirt
Red: American Apparel Downtown LA
Blue: Pure Ice French Kiss
Red Glitter: Milani Red Sparkle
Blue Glitter: Milani Blue Flash

Basecoat: Cult Nails Get it On
Topcoat:  Seche Vite + Cult Nails Wicked Fast


Have I Crossed the Line? Tutorial!


You asked for it!

I'm overwhelmed by the amount of you that wanted a tutorial for this design (in the best way!), and knew I had to let it jump queue to the top of the list!

With no further ado...


So how do you plan to cross the line?


Have I Crossed the Line?


So this design MAAAAAAAY look a little familiar. Just a little. It may have been one-fifth of yesterday's design. Ok, it was. It totally was. I seriously loved how the thumb turned out, and thought it'd look totally rad as a full manicure in that style. The main difference this time around it that I didn't stick to red, I decided to totally taste the rainbow- but only when I eat with my hands.

Someone mentioned they'd like a tutorial for the thumb (or in this case, the full manicure). Anyone else interested? Let me know, and I'll try to work it in to the tutorial schedule. :) I have some fun ones that I'm planning to film soon (if the ideas work out other than in my brain). Anyway, I won't babble on too much more, here's the nail arty-ness.

Have I Crossed the Line - Left Hand

Have I Crossed the Line - Fingers

Have I Crossed the Line - Thumb closeup

I used:


Basecoat: Seche Vite basecoat

Eyes hurt yet?


Earning My Stripes


Totally lazy weekend. LA-ZY! We watched 2/3 of the Back to the Future trilogy, I read a book, and I swatched the Deceptive collection. (have to re-swatch, my photos were crap) While in the backyard with the hound today, Chris and I caught a peek of a lizard in our rubber tree. Super cool lookin' dude, even saw him poop. In fact, it barely missed me. lol Exciting stuff, right? It must've been wildlife day in our yard, because there were also a couple rad looking red and black millipedes. Photos of both Izzy the Lizard and Milly Pede at the end of the post. :)

Homer has been a bit of a pill tonight, someone nearby keeps shooting off fireworks. Each time one explodes, he jumps, then runs from my lap to Chris' (or vice versa). It's like an exploding game of musical chairs. He's a nut. He hates thunder too. Poor thing can't climb far enough into my lap, and he trembles so much! I feel bad for the little man. :-P However, his scaredy-cat-ness has caused this post to take about 4 times the time it normally does. He keeps sitting on the trackpad.

Anyway. Let's talk nails.

Prepare for Totally 80s. At least that's what it reminds me of. I could totally see one of Robert Palmer's girls rockin' it, you know? Don't get me wrong- Totally 80s is totally cool by me. :D I'm completely in love with striping tape masking these days! So much easier!


I used:

Basecoat: Seche Vite basecoat

Creature Feature:


Under My Umbrella-ella-ella


Imagine lounging comfortably on your couch innocently watching reruns of Season 1 of Grey's Anatomy, when all of the sudden—the cable goes out!? CRASH! BOOM! CRACK! FLASH! What? Where did that come from?! Five minutes ago there wasn't a cloud in the sky! Yeah well, welcome to monsoon season in India. I swear to god there is a switch somewhere 'upstairs' that someone flicks to change the weather here. It goes from pleasant weather to booming thunder that you can feel in your guts and lightning that looks like strobe lights–shall we call it strobe lightning?!

I know, I know. Another weather-related nail design, but Reader Rita said I HAD to do it since I mentioned it, and who am I to be a tease?! This design makes me smile when I see it, and I'm glad that I did it!

What's the weather look like where you live?


I used:

White: Sally Hansen Xtreme Wear White On
Red: China Glaze Hey Sailor
Red Shadow: CND Bloodline
Red Highlight: China Glaze Hey Sailor + Zoya Arizona
Yellow: American Apparel Manila
Yellow Shadow: Zoya Arizona
Yellow Highlight: American Apparel Manila + Sally Hansen Xtreme Wear White On
Blue: MAC Breezy
Blue Shadow: Cult Nails Time Traveler
Blue Highlight: American Apparel American Denim + Cult Nails Time Traveler
Green: CND Green Scene
Green Shadow: CND Green Scene + Cult Nails Time Traveler
Green Highlight: CND Green Scene + Sally Hansen Xtreme Wear White On
Dark Brown: China Glaze Mahogany Magic
Tan: Essie Brooch the Subject + American Apparel Manila
Light Blue: American Apparel American Denim
Topcoat: Seche Vite topcoat
Basecoat: Seche Vite basecoat

Who else finds it ironic that I took a picture of these nails on a sunny day? (I swear it was a crazy storm last night!)

All Things Being Equal


A while back after seeing some super awesome nail striping tape manicures, I decided to order some striping tape from eBay (the easiest place to order nail art things here in India). This design kinda hit me today, and I have absolutely NO IDEA where it came from, but it DOES use striping tape! The only other tool required is a cosmetic sponge! The thumb nail turned out to be my favorite, since it was the easiest to apply the tape to. I sponged the gradient first (over my yellow base color), then after that dried I applied a zillion strips of striping tape and painted the exposed nail black. Fairly easy, right?!  The hardest part is making sure the stripes are evenly spaced...or dare I say 'equal'? Get it—because its an equalizer?! *groan*


I used:

Orange: Zoya Arizona
Clear topcoat: Seche Vite
striping tape


A Dash to the Finish Line


So I know I've been posting a lot of tutorials lately, and not as much nail art, so I decided to post something other than a flag today!! :-D  (Speaking of, are there any that you want to see? I have a few requests already, but I'll get to them!  :) )

It always amazes me how designs change even while I'm painting them. This design originated as dashes of all the same length in white over black, with an occasional red accent dash. It eventually evolved to different lengths of white dashes on back creating a wave-ish pattern with no red. Finally, I added color to each nail, making a sort of rolling gradient across the dashes. In retrospect, I wish I would've stuck to one color family for the entire manicure, instead of a different one on each nail. The orange and blue nails were my favorites...maybe I could've done an orange palette with a blue accent nail? (or vice versa?) Maybe next time?


I used:

Black: American Apparel Hassid
White: Sally Hansen Xtreme Wear White On
Dark Orange: CND Electric Orange
Medium Orange: Zoya Arizona
Yellow: American Apparel Manila
Dark Green: American Apparel Hunter
Medium Green: CND Green Scene
Light Green: Sally Hansen Grass Slipper
Dark Teal: American Apparel Peacock
Medium Teal: Zoya Robyn
Light Blue: American Apparel American Denim
Dark Purple: Zoya Pinta
Medium Purple: American Apparel Imperial Purple
Light Purple: American Apparel L Esprit
Dark Red: CND Bloodline
Bright Red: China Glaze Hey Sailor
Pink: Zoya Shelby
Topcoat: Seche Vite


Canadian Flag Nail Art Tutorial...eh?!


Growing up in Michigan, Canada was our fun (and cold) neighbor to the North and East! Trips to Canada weren't super often, but we did visit Sault St. Marie (pronounced Soo Saint Marie, and otherwise known as 'The Soo'), Sarnia, and Windsor on occasion! :) Heck, my sister and I even took a roadtrip to Toronto once. :) (I love that city!) Everyone knows the stereotypes of Canada; eh, aboot (about), hockey, BEER, just to name a few! I'll admit, I couldn't help but add an 'Eh' in the intro...don't hate me!

I know that we say it in Michigan- the UP (Upper Peninsula) especially! Heck- lots of Yoopers (people that live in the UP) have bumper stickers that say Say Yah to da U.P., eh!, which is a parody of the Say YES to Michigan! state slogan. That makes it OK, right? Kind of like the excuse 'My best friend is...' preceding whatever offensive term/race/sexual preference, etc. was used. :)

Anyway, to our cold and friendly neighbors to the north with the CN tower and Labatt's (gag), I salute you! (and make you this flag tutorial) 

By the way- the maple leaf on the Canadian flag is a pain to paint and have look like a leaf. I redid this video THREE times to get it right!


Did you hear the one about how they named Canada by drawing letters from a hat? The first guy pulled out the letter C, eh!!, the second guy pulled out the letter N, eh!!, the third guy pulled out the letter D, ehhh!, and that was how Canada was named. :)  (I love you Canada, I swear!)

I'm gonna get killed for this. If you don't hear from me soon, check your local ice-fishing hole.

American Flag Nail Art Tutorial!


TOOT! TOOT!  Next stop on the Flags of the World Nail Art Tutorial Express (hot damn that's a long name for an express train) is none other than Old Glory, the flag of the good ol' U S of A!

Though I'm sure that the majority of you lovely readers have seen the American flag nail art a zillion times, a 'Flags of the World' nail art tutorial series wouldn't really be the same without it, right?

Well here you go:


Triangle.

Oh, and can someone turn off the dawnzer? (please someone get this reference)

British Flag Nail Art Tutorial!


So, because I get requests for flags quite a bit, I decided what better time to do flag tutorials than for the OLYMPICS?! First flag tutorial—the British flag! I mean, the Olympics are in London this year...
 
In the comments below, post what flags you'd like to have tutorials for, and I'll do my best to make them! :)

Olympic Rings Tutorial!


So I'm going to be doing a series of tutorials for the Olympics, and this is the first one! :) I decided to get into the tutorial spirit, and get my ass in gear. Unfortunately my internet disagrees. It takes a full hour to upload a 4.5 minute video! Awesome right?

Anyway, I hope you like the first in my Olympics-themed Nail Art Tutorial Series!


Poppy Extravaganza!


Today I have a design that I did a few months ago for the Rite Aid Nail Extravaganza nail art competition. The judges were Suzi Weiss-Fischmann of OPI, Essie Weingarten of Essie, and Julie G of Julie G Beauty. Needless to say, I wanted to IMPRESS. With this design I made it to the finalist round, where I was sent a box of products that I had to use to create a new nail design. Here's the catch, I could ONLY use the tools/polishes in the box. Unfortunately this did not include A. topcoat B. a nail art brush. I did contact the PR people handling the contest to make sure I was not allowed to use topcoat or brushes, and they said if it's not in the box...no.

The kit included: a set of 5 polishes from the Jesse's Girl Julie G line, 2 Essies, a NOPI red, and 5 Sally Hansen Nail Art Pens. I spent 4 hours. FOUR. HOURS. trying to make these products work. Sure, the polishes were all AWESOME. Unfortunately not many of them coordinated, and on top of that, the lack of topcoat meant that anything I drew with the nail art pens wiped off. After several failed attempts (every time I drew something I was mildly OK with, the pen would shit on my nail and make a big splotch...there was a lot of unparliamentary language goin' on that night), I came up with something that I wasn't horribly embarrassed to submit. This round was voted on by the public... needless to say, my design didn't win.  You can view the other submissions on the Rite Aid Nail Extravaganza site.

In any event, I was REALLY happy with my initial submission. I tried a new watercolor technique where I painted the shape of where the color was the boldest/most opaque, then dipped my brush in acetone and 'pulled' the color to create the other shapes.


I used:

White: Sally Hansen Xtreme Wear White On
Red: Nicole by OPI Red-y to Runaway Love, sometimes mixed with Zoya Arizona
Darker Red: Essie Blood Curdling
Yellow: CND Bicycle Yellow
Green: Essie Pretty Edgy, sometimes mixed with CND Bicycle Yellow

Topcoat: Seche Vite

The OTHER design. 


I used:

Silver, Black, and White Sally Hansen Nail Art pens


With Her Head in the Clouds


Did you know that today is Amelia Earhart's 115th birthday? If you've been to Google today you did! :-D  In honor of this inspiration of a lady, I did flying nails!

I apologize this post is super short in the ways of words, but my head hurts so bad right now I feel nauseous, and I really want to go get some sleep. However, I really wanted to get this post up on her birthday! :)


I used:

Blue: American Apparel American Denim
Red: China Glaze Hey Sailor
Red Highlight: CND Electric Orange
White: Sally Hansen Xtreme Wear White On
Black: American Apparel Hassid
Topcoat: Seche Vite